Tuning Style Transfer with a Control Surface
There’s a fun technique introduced by Gatys, Ecker, and Bethge that lets you reduce an image into separate “content” and “style” representations. Then, by taking a content representation from one image and the style representation from another, you can create a new image that matches the content of the first image in the style of the second.
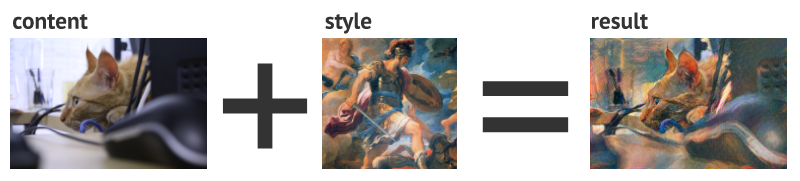
The gist of style transfer is that you take a pre-trained image classification network (VGG-16 trained on ImageNet), and then run an image through it. For each convolutional layer of the classification network, the raw activations represent the content, and the Gram matrix of the activations represents the style. By picking some layers and assigning weights to their content and style, you can create a loss function that represents your desired blend of content and style. With that loss function, you can apply gradient descent to a random noise image, and after enough iterations you get something that combines the content and style provided.
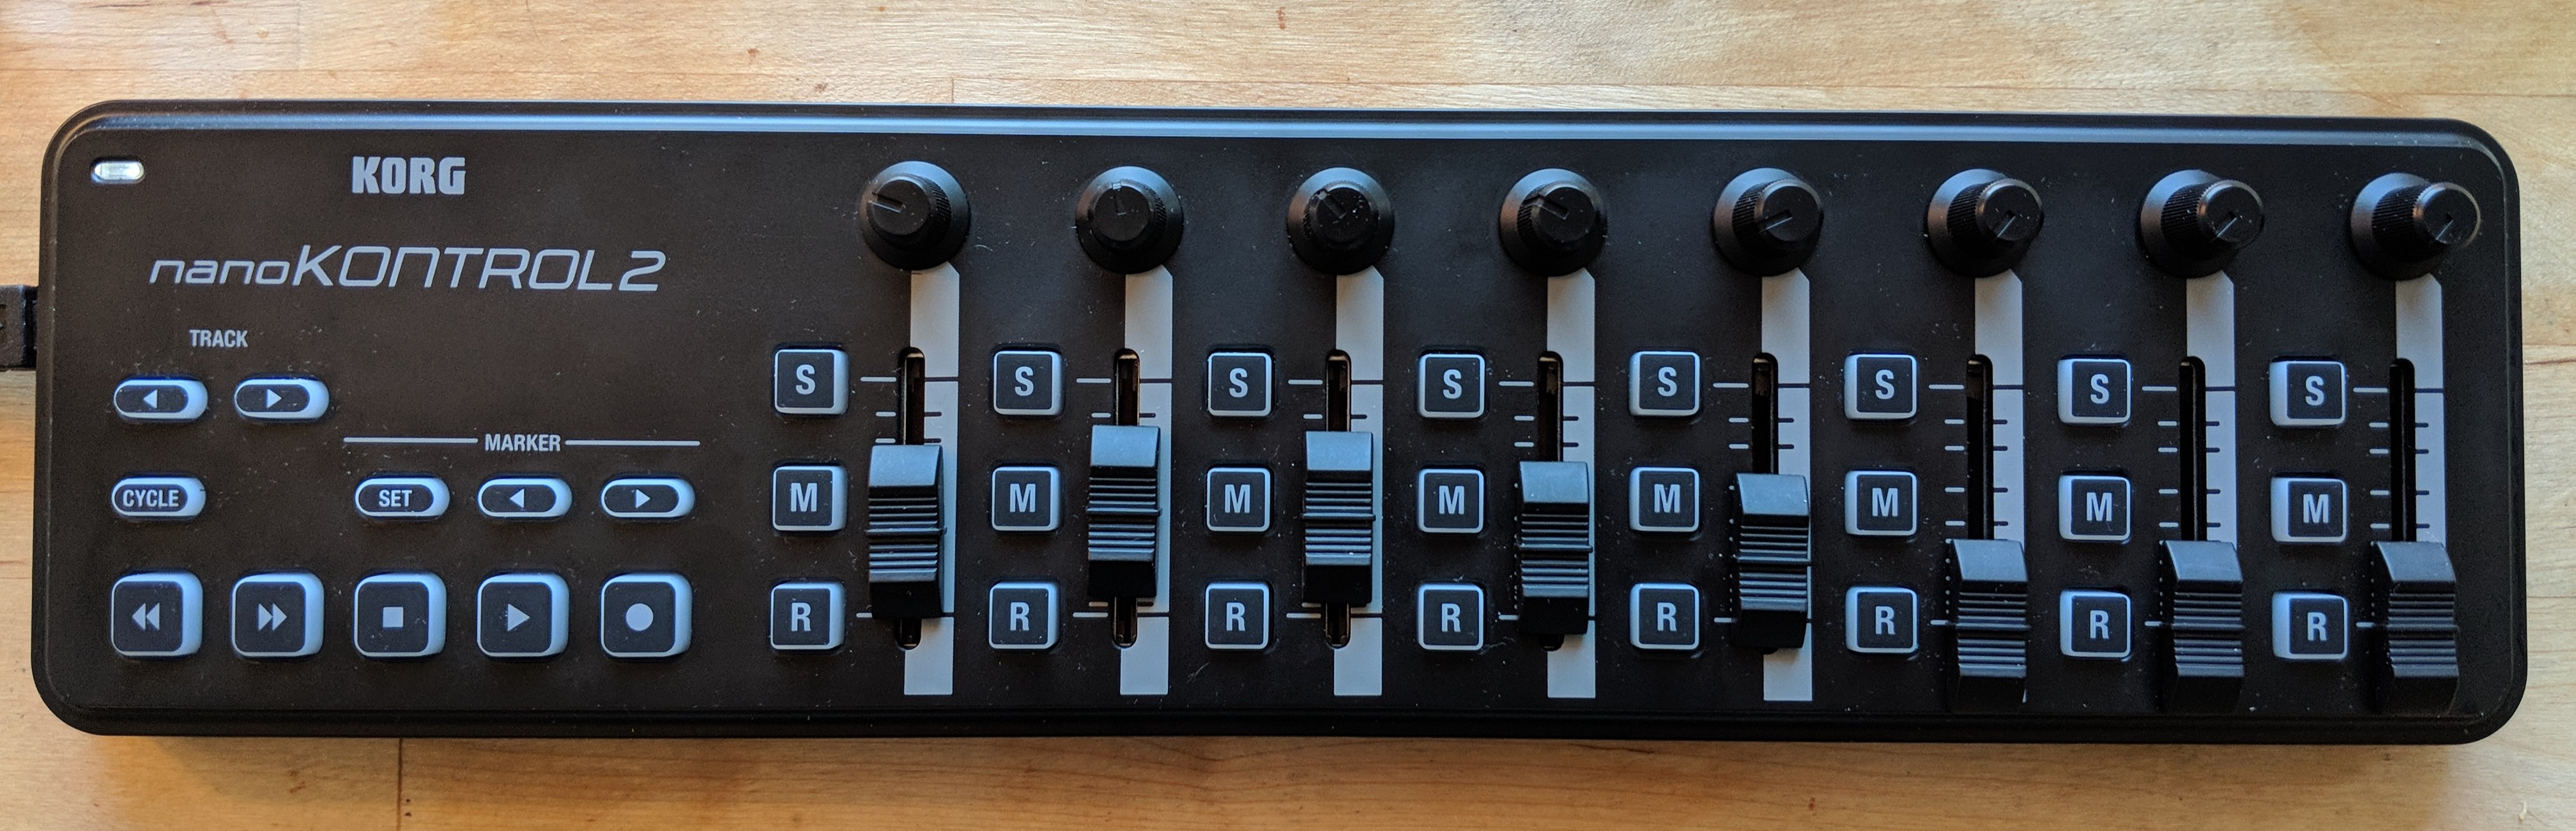
In order to gain better intuition for the information captured at each layer, it helps to have a tactile interface with a short feedback loop. I rigged up a MIDI control surface so that each of the eight sliders and pot knobs correspond to the content and style weights (respectively) of eight layers in a style transfer model.
Passing control state
The GPU I use is in a data center, so I had to set up a way to stream the control surface state over the network. I used Chrome’s preview implementation of the Web MIDI API to listen for control state change events. Then I send these over a websocket connection to the GPU machine, where they are received by a websocketd server running a lightweight Python process. That Python process updates the weights in shared memory.
Meanwhile, the image optimization process runs in a perpetual training loop. After every training epoch it updates the weights from the shared memory, and saves the training loss and the latest image.
Learning an image with Keras
The optimization process itself is written in Keras. There are at least a few Keras implementations of Gatys et al. style transfer out there. Keras even ships with one. Typically, these implementations use Keras for the VGG-16 implementation and to compute gradients, but then pull the gradients out and use scipy to optimize the input against the loss function.
My requirements were a bit different. I wanted to be able to change the layer weights without recompiling the model. I also wanted to visualize how much each layer was contributing to both the style and content loss. While possible in scipy, I found it cleaner to accomplish using only the Keras optimization loop.
Keras is set up to optimize weights of a model, but in style transfer it’s the input that gets optimized. In order to accomedate this within Keras, I used a trick: the actual model “input” is the constant scalar value 1.0, followed immediately by a dense layer with no bias term, and an output shape that matches the desired image shape. Fitting the weights of this dense layer is then equivalent to fitting the input image.
In addition to the constant tensor, the model takes as input two 8-long vectors. These correspond to the content and style weights for each of the 8 layers. It might seem unusual to pass model parameters as input, but that’s what allows me to change the parameters in the optimization loop without recompiling the model.
The output from the function is a 16-long vector of style and content losses from each layer. To fit the model, I use a vector of 16 zeros as the target and use mean_absolute_error to get a scalar loss value that Keras can optimize towards.
Putting it all together
Once I implemented the MIDI state streaming and Keras model, all that was left to do was build a basic web interface to view the latest result after each pass through the optimization loop. I also added a simplistic visualization shows a table of weights for each layer and how much of the current loss that layer contributes.
Here’s a video of training in action.
The code is avaiable for reference on GitHub. Consider it demo-quality, so if you want to use it as more than a reference it might take some work.